
Forum Chat
Mario Party
Boards, minigames, items, and more — chat about all things Mario Party here!
- Threads
- 6
- Messages
- 26
General
From the latest video games to your favorite superheroes, chat about it here.
- Threads
- 5
- Messages
- 26
Forum and Announcements
Say hello to newcomers and get acquainted with our rules.
- Threads
- 5
- Messages
- 21
PartyPlanner64 Chat
Guides and Articles
Read an article from a Mario Party modding expert or follow the latest guide.
- Threads
- 1
- Messages
- 1
Support
Ask all your Mario Party modding related questions here. Upvote the best answer!
- Threads
- 2
- Messages
- 11
Mario Party Modding
Start up a general Mario Party modding topic or chat about a specific download.
- Threads
- 412
- Messages
- 426
The Archives Discussions from the forum's past. All topics and boards are in read-only mode.
Archives
Check archived topics here.
- Threads
- 12.3K
- Messages
- 270.9K
Members online
No members online now.
Latest downloads
-

-
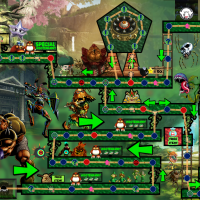 MP3 Trail to the Great Deku TreeGet to the Great Deku Tree to buy as many stars as possible!
- ClarksMadness
- Updated:
-

-

-
